By Tim O'Leary / Ripton, Vermont

Goal: propagate yeast found in the bottom of a two cans of Heady Topper, to have enough active yeast cells to brew (2) five gallon batches and to freeze some for future use.
This is a step-up yeast starter process. The theory is that just enough sugar at a time allows the yeast to grow at a controlled rate. Too much sugar at one time, stresses the yeast cells = shorter and less productive life. Although I worked with two cans of Heady Topper and had two starters going, the directions below are to propagate the yeast from one can (approximately 150 billion yeast cells) to about 475 billion yeast cells. About 250 billion are needed to ferment one 5.25 gallon clone recipe of Heady Topper. Click here for my blog post about that recipe.
Knowing that the target starting Specific Gravity of the clone recipe Heady Topper wort is 1.073, and using Mr. Malty's Yeast Calculator, 263 billion yeast cells is the target number for a 5.25 gallon batch of beer.
Day One
1. Boil water to sanitize glass growlers, beaker, and funnel for 15 minutes.
2. Boil a wort with 100mL of H20, 10g Golden Light Dried Malt Extract, and 1/8 tsp yeast nutrient, also for 15 minutes.

3. Wort poured into any sterilized container. I used a glass growler. Cool down to room temperature (~72 deg, F.) before adding the last 25% of a can of Heady Topper to each of the growlers.
I initially used these airlocks for their cleanliness, but I ended up using foil loosely folded over the top. The primary reason for this change was to allow enough oxygen, even by diffusion, to let the least continue to propagate.

Day Three
Progress along the way
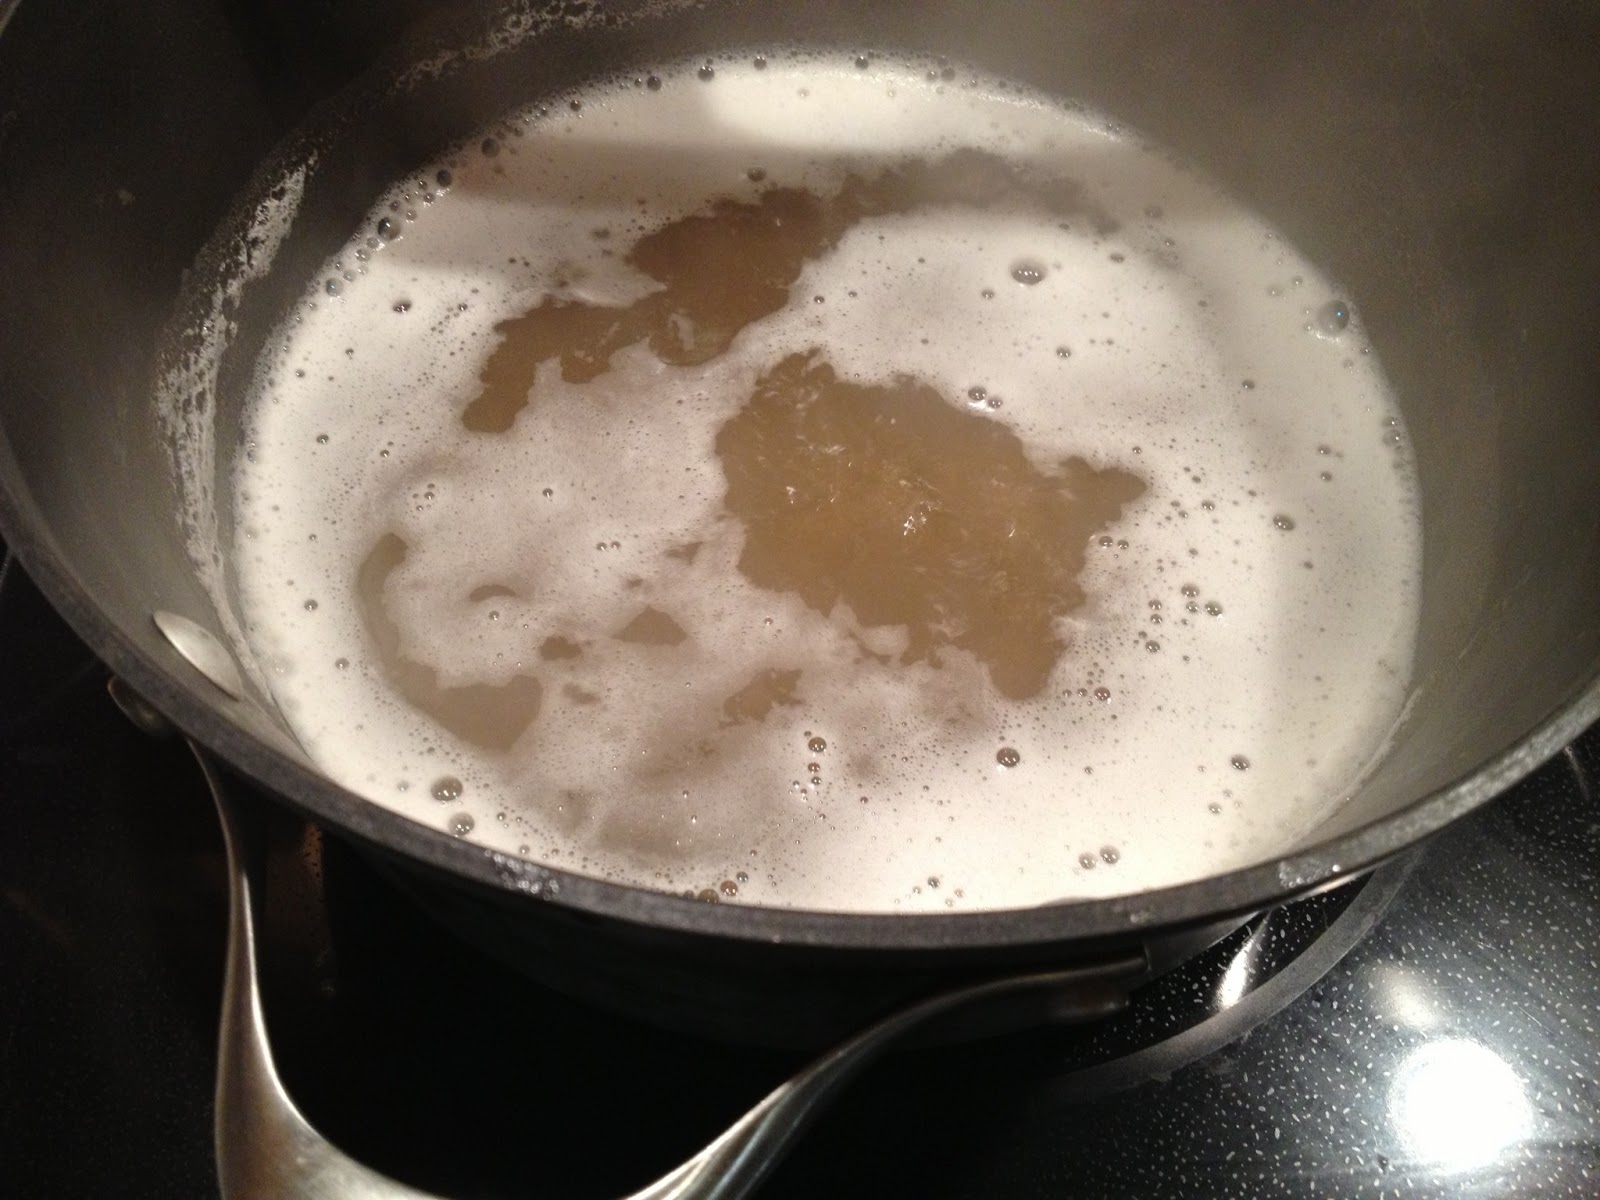
By the morning of Day 3 and with warm inside temperatures at my house (~75 deg. F.), I could shake the container and get a significant exhaust of CO2 and a healthy froth quickly sat on top. This activity is evidence that I started with pretty healthy yeast cells from the can of Heady Topper and more are on their way!

Three or four times, each day, take the growlers out of the dark closet and shake up the mixture to aerate the wort (adding more oxygen into the mixture). Photo above is after the shaking. Photo below is the yeast settled out before each shaking.
 |
| Three days after harvest, there was a significant bed of light-tan yeast cells that lined the bottom of the growler. |
Day Four
1. Boil more wort: 400mL of H20, 40g Golden Light Dried Malt Extract, 1/2 tsp yeast nutrient. Boil for 15 minutes. Keep covered (even though it's not in the picture) during the boil (to maintain total volume) and after (to keep sanitized).
2. Cover with foil and let cool to room temperature and add to container with starter.

Day Six
After step two, there should be 500mL of wort in the container. Step Three will bring that total to 1500mL.
1. Boil 1000mL H20, 100g DME, and 1 tsp yeast nutrient for 15 minutes (soft rolling boil).
2. Cover and cool, as before, add to the previous 500mL solution for a total of 1.5L. Let rest 3-4 days for fermentation to take place and yeast cells to grow.

Day Nine/Ten
1. Place the container in the refrigerator overnight to cold shock the yeast. Yeast will fall out and the liquid will lose its haze and look like the picture below:

2. Decant slowly (no "glugging": slow, steady, even pour). Keep just the yeast behind. Shake the remaining mixture vigorously and end up with a small amount of very yeasty solution:

Next, let this liquid rise to room temperature and create 3.5L of new wort (3.5L of H20, 350g DME, 3.5 tsps yeast nutrient).
Add yeast solution (pictured above) to the new wort solution once both have reached room temperature.
Day Twelve/Thirteen
1. Fermentation should be complete or very close. Cold shock, overnight, just like before.
2. Decanted, this yeast solution. You should have approximately 475 billion yeast cells. The yeast cell count is based off of starting with approximately 150 billion and using YeastCalc to determine what you end up with. This is enough to use 1/2 of that solution to pitch in a 5.25 gallon cloned Heady Topper batch of beer and save 1/2 to make a frozen yeast bank.
3. If you do not need the yeast bank for future batches, you can scale back this recipe to not include the final 3.5 L of wort. If you do NOT include that, you should end up with approximately 284 billion cells (perfect for a 5.25 gallon batch at a starting Specific Gravity of 1.073, which needs 263 billion according to the Mr. Malty Calculator.

4. To create a frozen yeast bank, I use vials large enough to house a solution whereas 90% of the solution came from about a 100 billion yeast cell slurry and 10% of the solution came from glycerin and 15% of the container was left as head space for the mixture to expand when freezing. I used 1oz sanitized containers and that was a good amount of room. Cool vials in refrigerator before moving to a freezer. Keep in a freezer that does not have defrost cycle. In the future, you can slowly thaw these vials and propagate more yeast. I found this site at www.homebrewtalk.com to be helpful planning and creating a frozen yeast bank.
Resources:
Signpost Craft Brewing, "Culturing Conan Yeast"
www.beer-flavored.com, "Culturing Conan"
Home Brew Talk, "Guide to Making a Frozen Yeast Bank"
Well written, can't wait to try this. Got 4 cans, thanks for the info.
ReplyDelete